
The Foundation
We always dream of a traditional outdoor kitchen in our backyard, with a big pizza brick-clay oven, a smoke house and a java style stove called pawon. We can imagine ourselves providing our friend with a homemade pizza and baked goods fom our oven, lay backs and enjoying a good afternoon in a garden…well, that journey is still a far far away. First we have to do is building it.
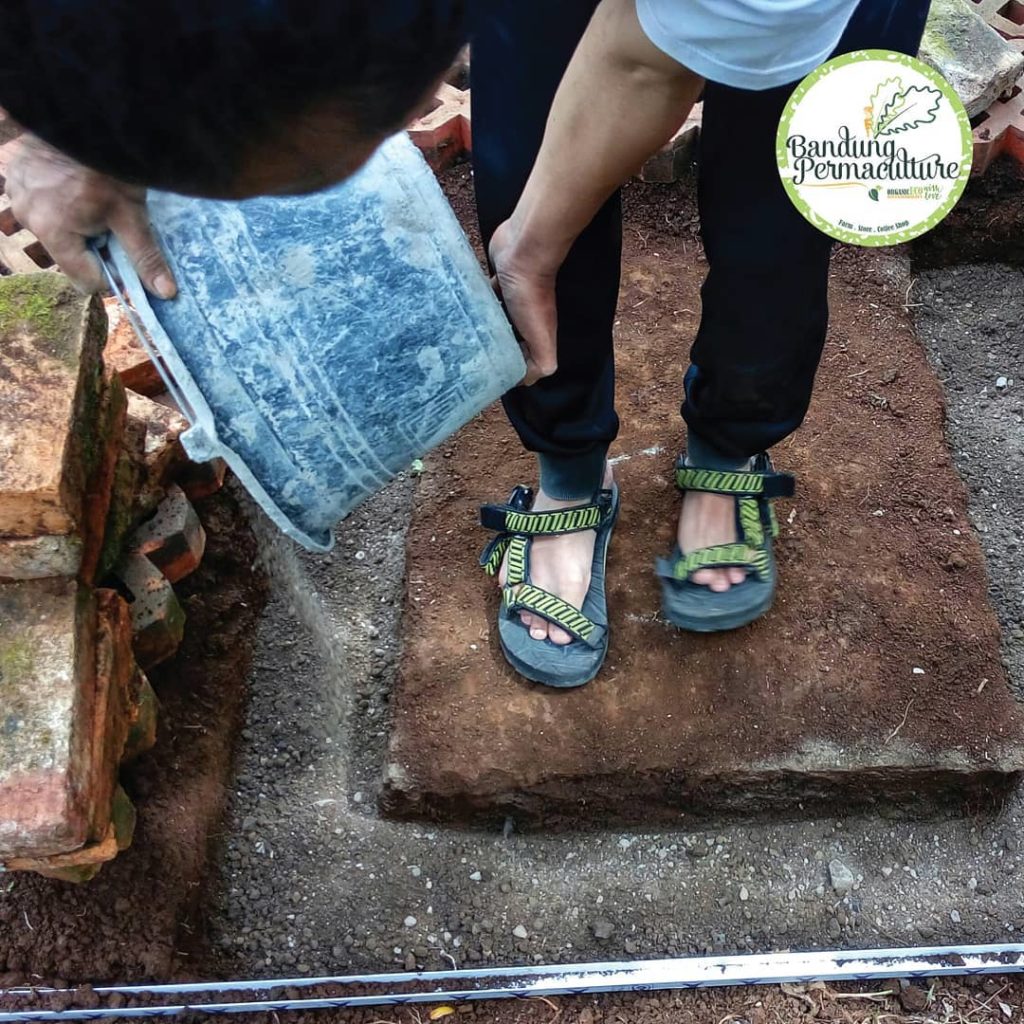
First, decide where to site your oven because you can’t move a pizza oven around the garden once it’s built. We choose an area with plenty of space around it. We need : A solid (prefer and old one) bricks, blocks, woods, cement, builder’s sand, wiremesh, cardboard, clay. All of the material we got from a leftover buildings and junks…we didn’t buy a new material except for cement, so you probably wondering why our step of making oven is different than others…well, it the prerogative for using a secondhand material, we have to create a way that suitable for the material. So it’s kind of our way or our style of making it. An recycle reuse outdoor oven pizza. Here are pictures of the foundation. It should be strong enough for the base and it will bear the weight of the brick oven, keeping it level for many years. The foundation slab should be at least as big as the brick oven. After the foundation was final, then you can pour some gravel and cement mixture. Once you have poured your foundation, smooth off the top and let it sit for a week. This will allow time for the cement to cure and you to recover. You can then remove the forms and move to the next step.
Supporting Walls/Base
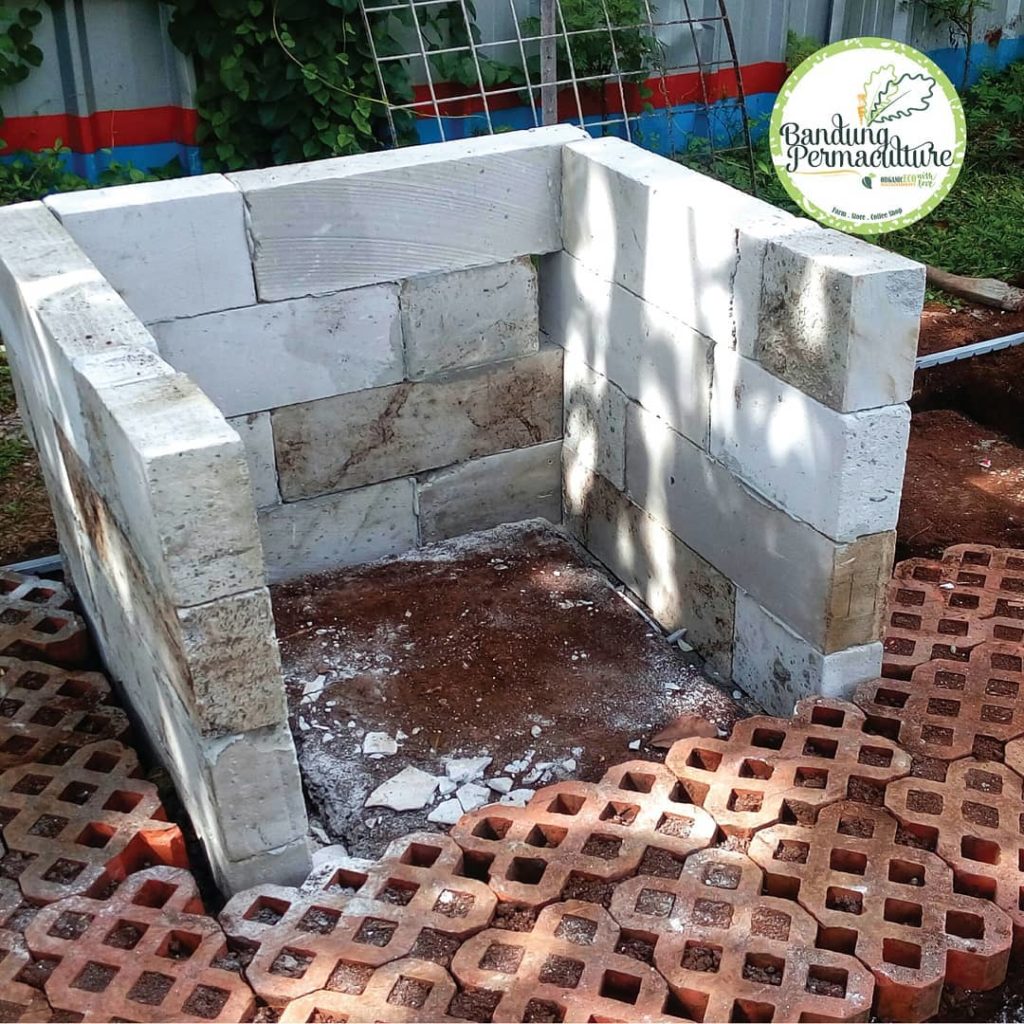
After the foundation is done, next we build the base of the oven. This involved approximately 30 blocks arranged in a “U” shape. The center section will stored the firewood and keep it dry.
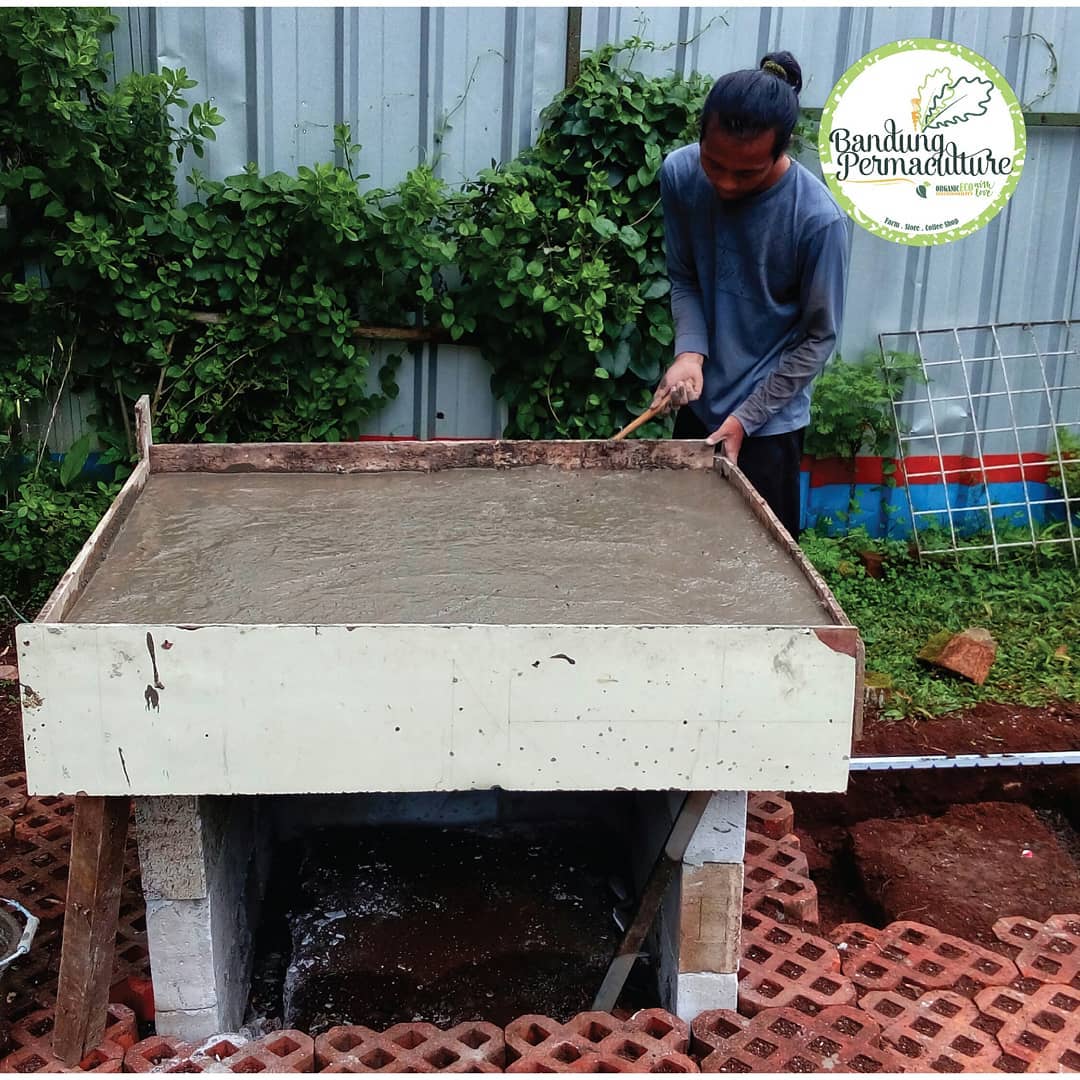
Slab
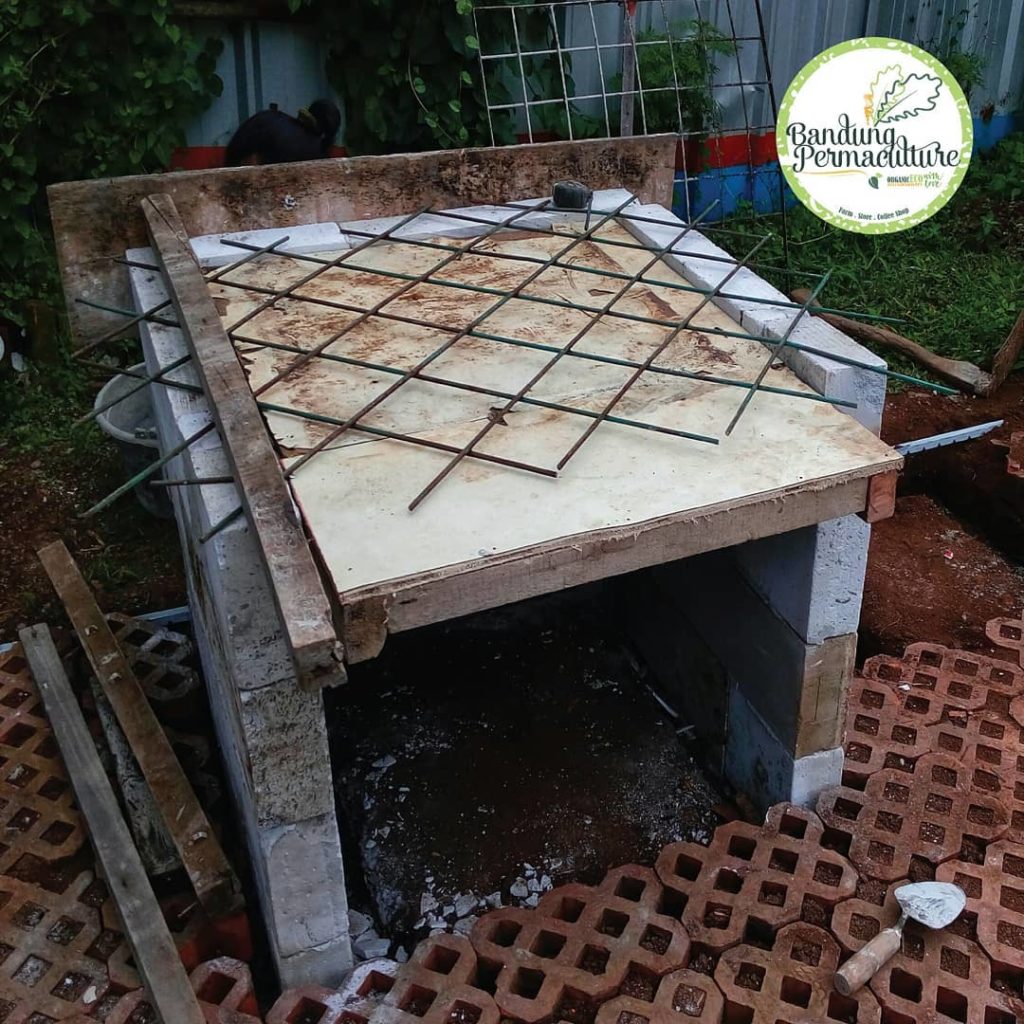
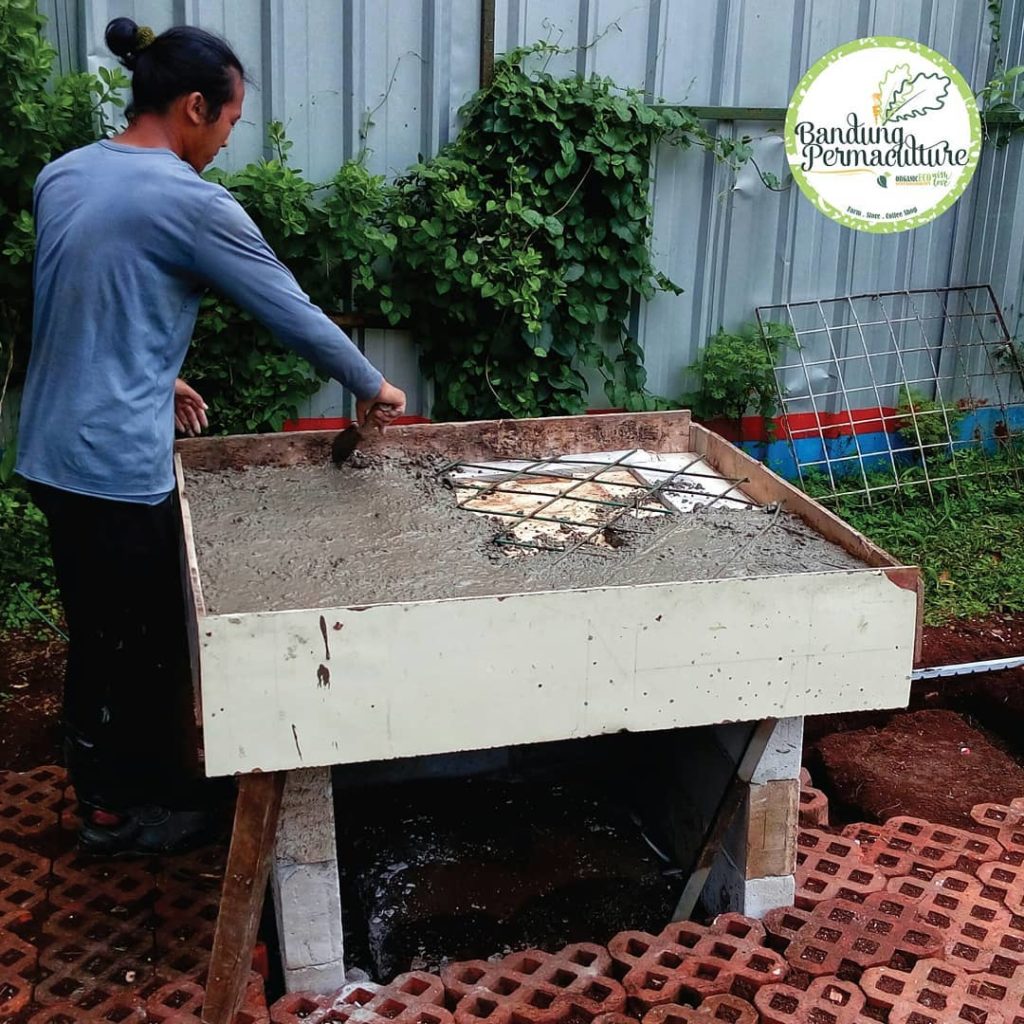
Once the base has been completed, it is time to move on to the slab that will support the actual brick oven. We started with some boards cut so that I could make a form around the top of the base. This form would allow me to pour a rebar reinforced, slab that would support the rest of the oven. We also used cement as the base of the slab. Once the form is setup, then mix the concrete that will be used for the slab. Pour the slab and we are done for the day. Working on this oven will take time, so we strongly advice you not to rush it, because every step needs a time. We have to wait for 5-7 day to harden the slab before we do the actual and more complicated thing….which is building the actual oven.